
Content
After you have successfully completed the installation, it's time to try out Office To MOXIS and explore the functionalities. This article will help you get started.
1. Open Office To MOXIS
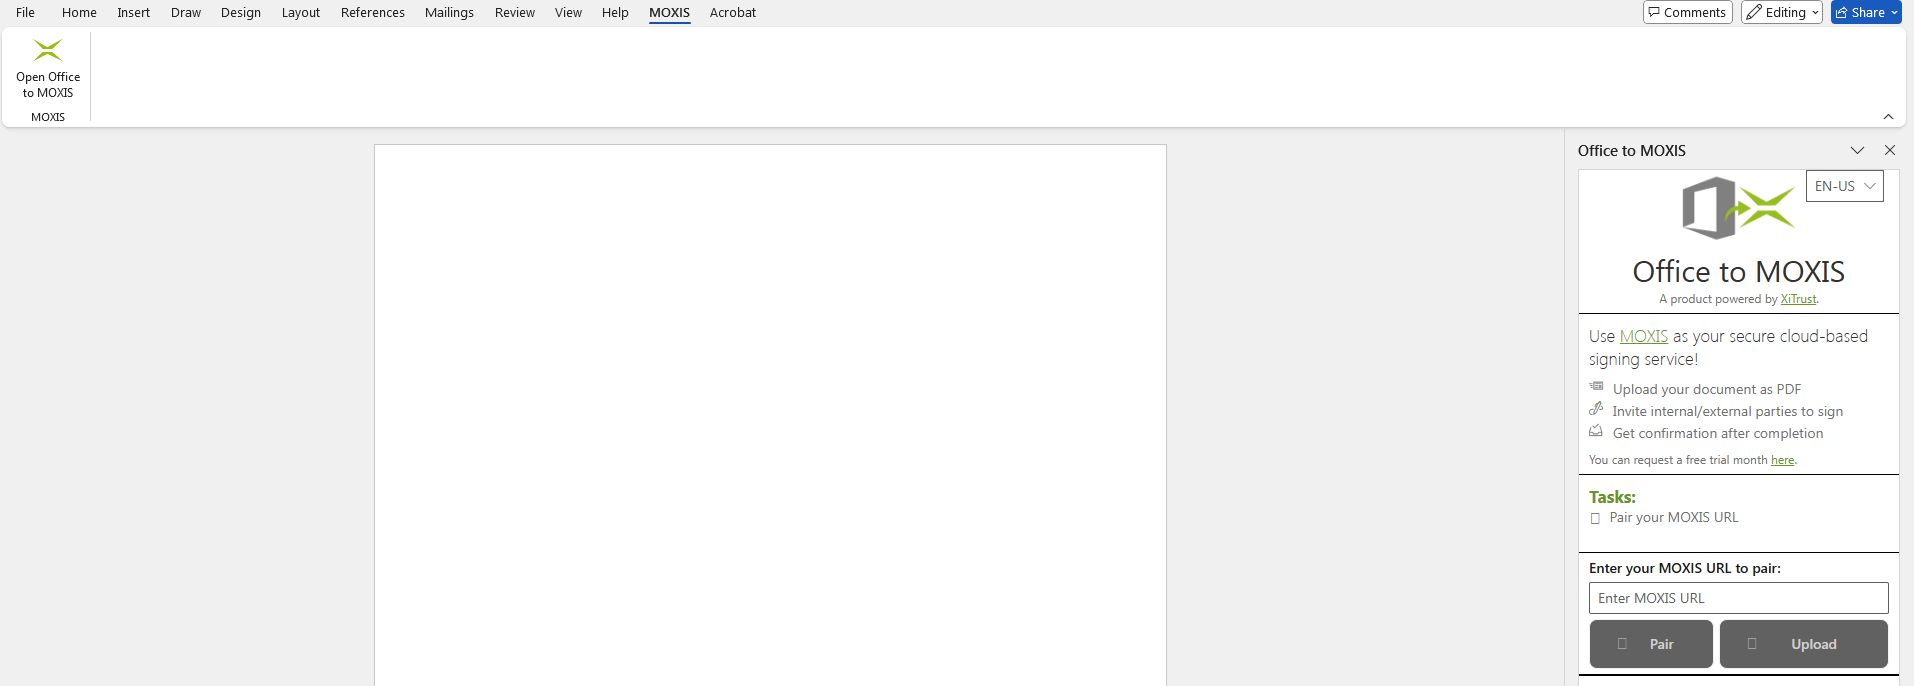
The MOXIS tab (see figure 1) is displayed in the editing toolbar for all programs for which the Office To MOXIS add-in has been activated. Clicking on the tab displays the [Open Office To MOXIS]-button (see figure 1) . Clicking on this button opens the Office To MOXIS application.

The add-in includes instructions for use. These are available in German and English. The language can be changed using the language menu at the top right (see Figure 2).
2. Select a process in Office To MOXIS
When you log in, you will be taken to an overview page where you can select the desired process for your document. After the selection, the document will open in the chosen process and can be further edited using all the available functions.
.png?cb=08a4a090c54d6e703c8b488e28b522cd)
3. Uploading files to Office To MOXIS
Office To MOXIS offers a range of options, including the ability to upload Microsoft Word documents. If the document is new and has not yet been saved, you must first enter a file name and click on the [Upload]-button (see figure 4).
XiTip
If the Microsoft Word document that you want to upload to the linked instance has already been saved under a file name, this will be adopted.
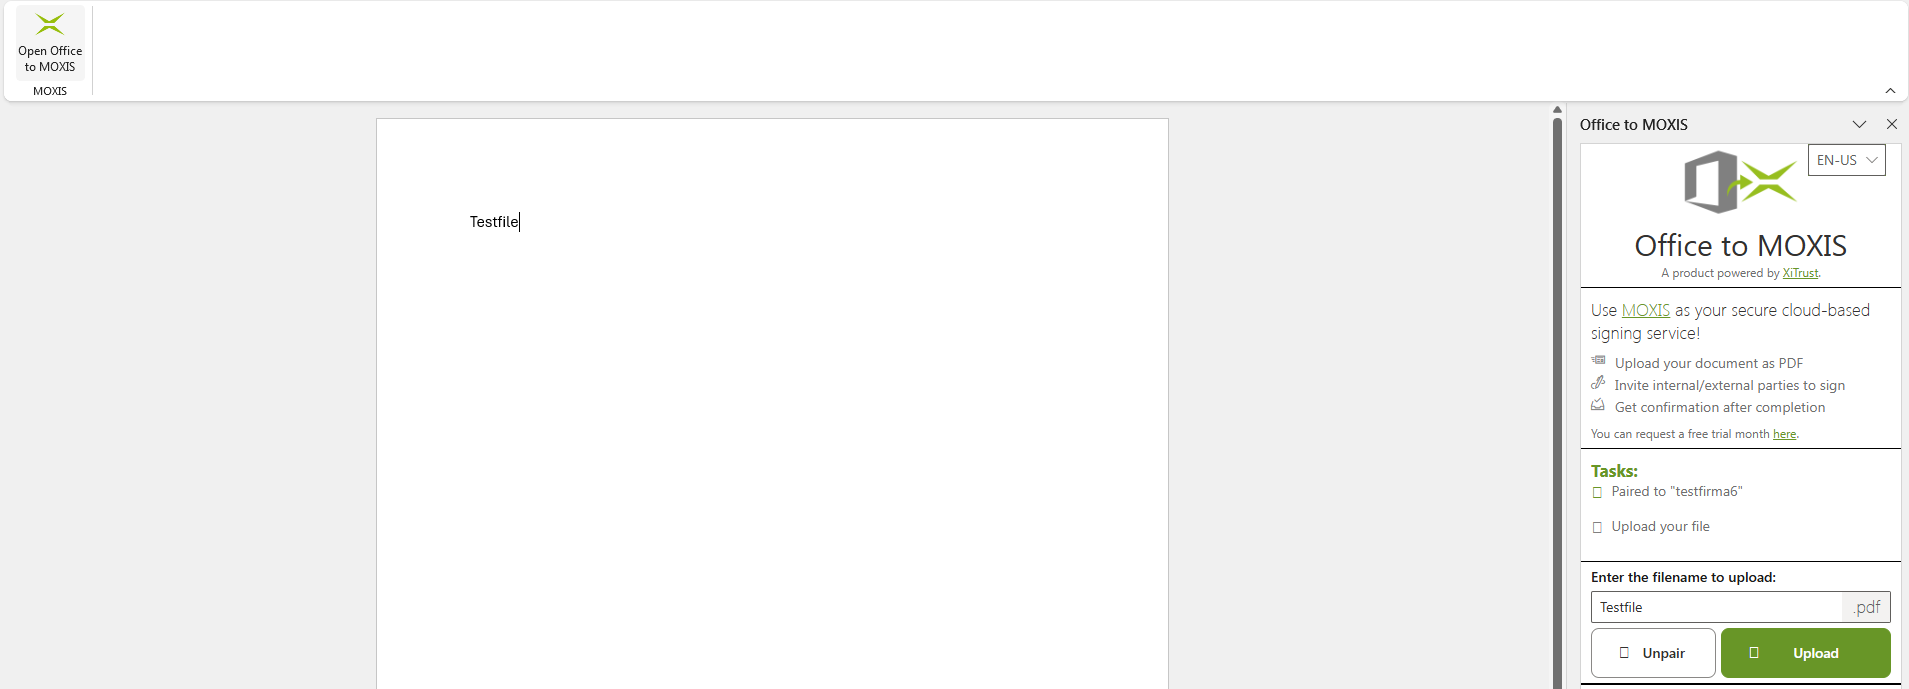
If the operation was successful, a message will appear indicating the date and time of the last upload. If you wish to upload the document again, please click the [Upload again]-button.